
I picked up this old dresser mirror last summer, loving the
look of the top, with the plan to refinish it and convert it to a wall hanging
mirror.

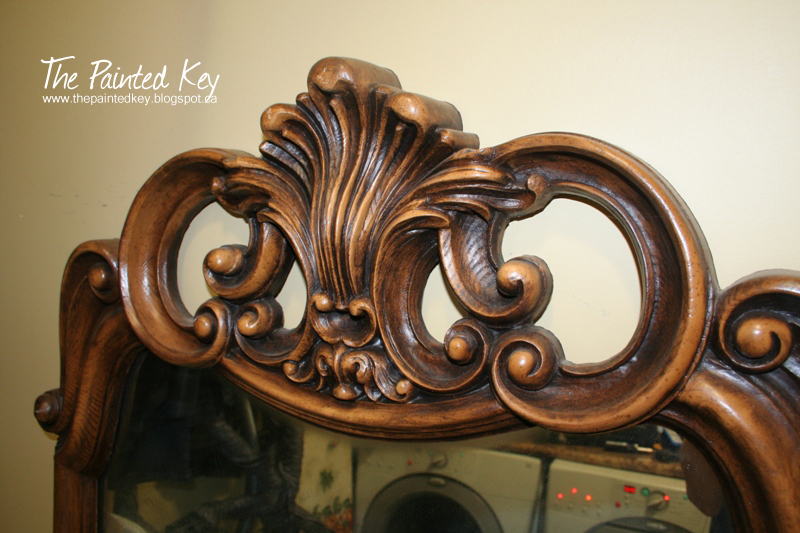
I was a little disappointed when
I went to see it and realized it wasn’t wood at all, but some sort of thick
plastic with a hollow back.


I knew I could
still paint it, but I wasn’t sure if I could hang it on the wall. I decided to buy it anyway and when I got
home, propped it against the wall on our front deck. And there it sat...and sat...and sat a little
more. After a few months letting
it sit on our front deck for longer than it should have, I decided it was time
to try SOMETHING with it, so I mixed up another batch of DIY chalk paint.

I love the soft blue/green color. It’s the same color I used on this little chair I recently refinished. After the
paint, I dry brushed on a little bit of gold paint for some added color.
To seal it, I decided to try a new soft clear wax. While I loved the look of the subtle sheen
the wax left, I think I may stick to spraying on my finishes...so much easier
on my hands and arms. ;)
The original “legs” that would have attached it to the
dresser had to be removed. Because the
frame is only plastic and the backing material is a thin pressboard-type
material, there was nothing for me to attach any sort of heavy duty hanging
system to. So, for now I’ve got it propped
up on our tile tub surround in our master bathroom. I’d still like to attempt to come up with a
way to hang it on the wall, but for now, I’m happy with it just leaning.


I think the soft gold dry brushing works perfectly with the artwork on the wall.


Now, before you start questioning my sanity and wonder why in the world I
would think of placing such a large mirror next to a bathtub, let me explain.
;) Other than a small skylight, our
ensuite doesn’t have any windows. Mirrors
are a great way to make a small space feel more spacious and reflect light to
make a space brighter. With the door on
the opposite wall, the mirror helps to reflect the light that comes in from the
bedroom window.
So there you go...an old and dated dresser mirror has been
given a new lease on life and is the perfect addition in our bathroom.

Thanks for stopping by!


