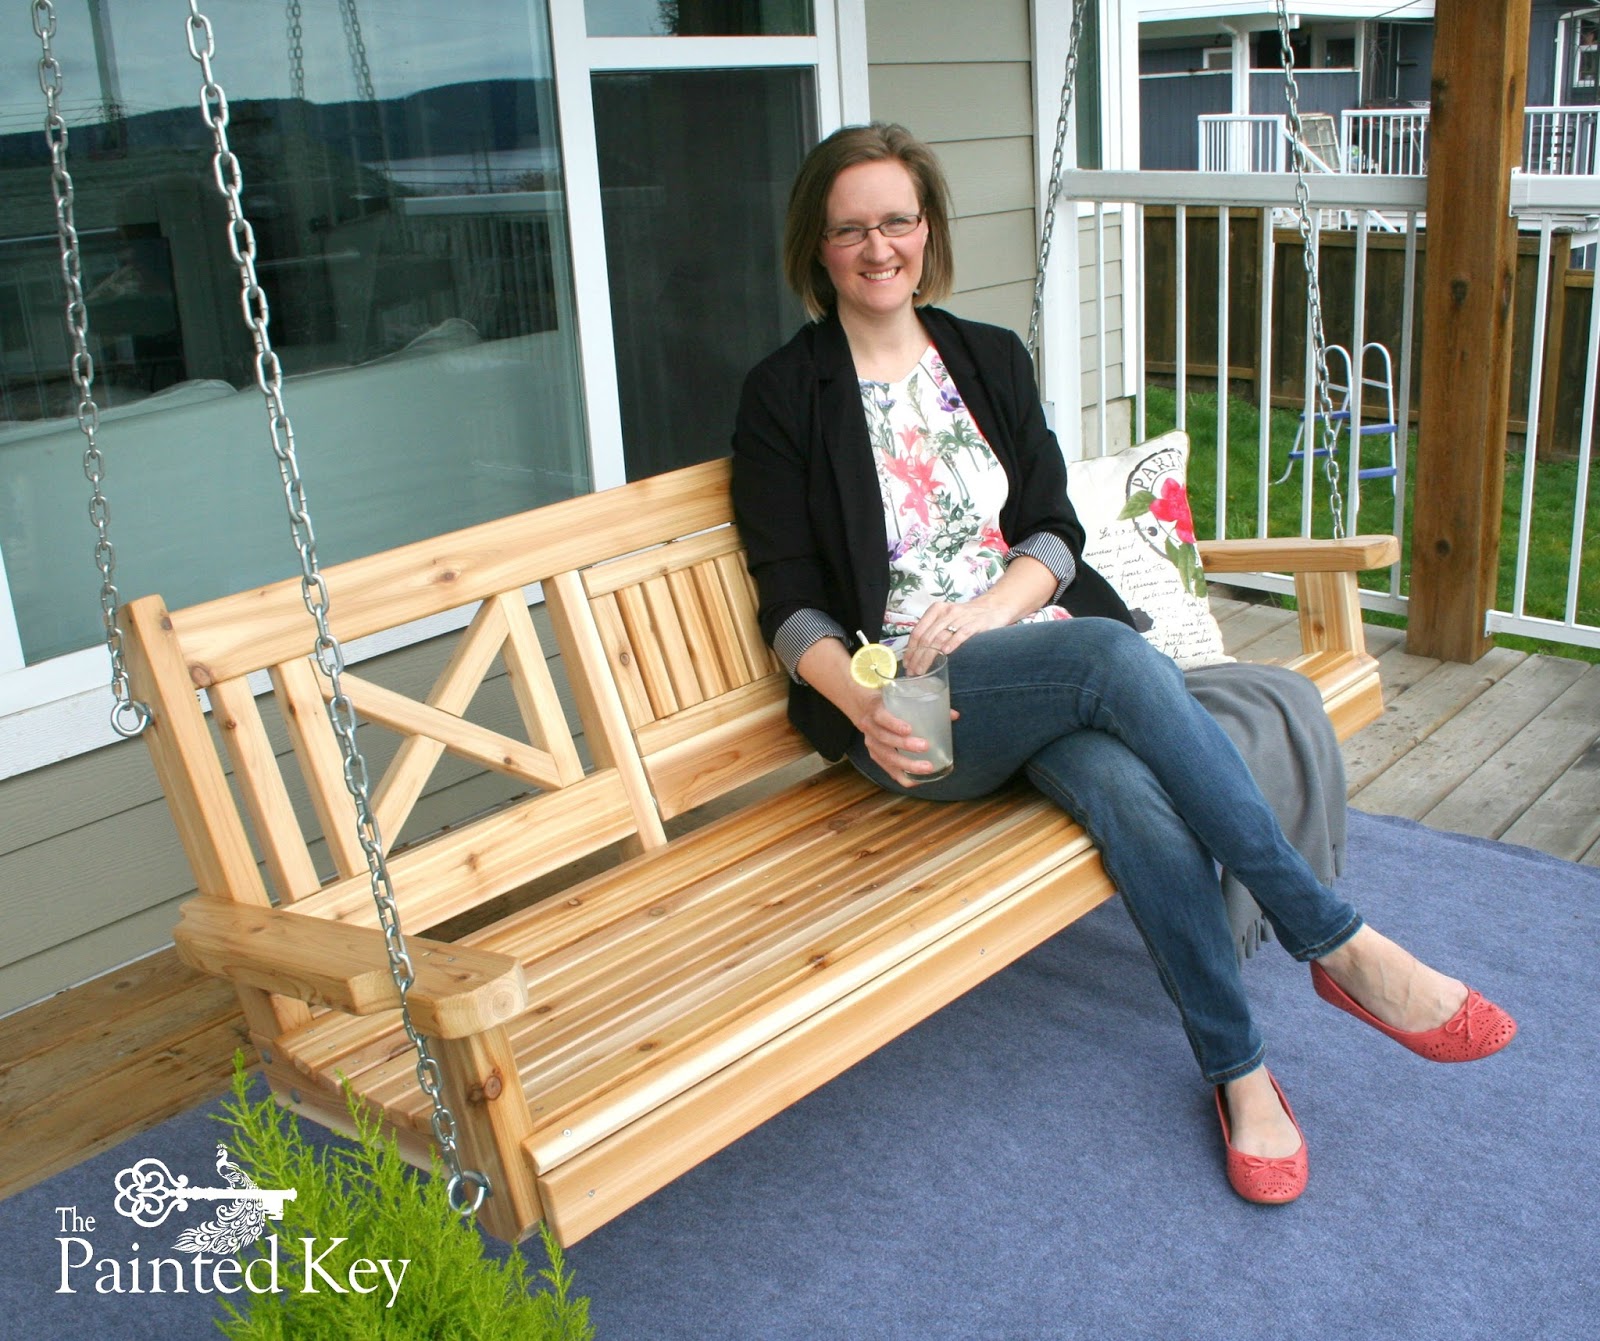
Huge thanks to everyone who took the time to pop over to the Spax U.S. website to vote during their SPAX Fan Favourite Contest.
You guys - I won!!! So super excited to know others love my swing as much as I do and feeling very honoured for the recognition. Thank you!!!
Showing posts with label #igbuilderschallenge. Show all posts
Tuesday, May 9, 2017
Friday, April 28, 2017
Spax Fan Favourite Contest
Hello!
With the third Instagram Building Challenge finished (I've got a blogpost coming up about that, promise!) I was thrilled to find out that Spax (one of the judges and sponsors of the challenge) had decided to extend the fun with a contest!
If you loved my swing as much as I do, I would love if you would take a moment and vote for me! There's no need to sign up for anything, so it's super easy and only takes a moment. I would so very much appreciate it! All you have to do is pop over to Spax US webpage and click my name on the list.
Quick, easy and only takes a moment!! (If the choices aren't showing up, just scroll to the bottom of their page and click "view web version" and the page with the choices will pop up.
Oh, and did I mention that along with the winner, they are picking a random voter to receive a SPAX swag package too??? So awesome!
Thanks everyone! I really appreciate it!
Cristina
With the third Instagram Building Challenge finished (I've got a blogpost coming up about that, promise!) I was thrilled to find out that Spax (one of the judges and sponsors of the challenge) had decided to extend the fun with a contest!
It's their Getting Benched: SPAX® Fan Favorite Contest
Guys - I made their Top 5!!
Quick, easy and only takes a moment!! (If the choices aren't showing up, just scroll to the bottom of their page and click "view web version" and the page with the choices will pop up.
Oh, and did I mention that along with the winner, they are picking a random voter to receive a SPAX swag package too??? So awesome!
Thanks everyone! I really appreciate it!
Cristina
Saturday, April 15, 2017
IG Builders Challenge 3
I did it. I participated in another Instagram Builders Challenge and wow was that fun. With a lot of unexpected things happening this past week though, my shop time was quite limited so I was a little concerned I wouldn't complete the build on time! Happy to say I did and managed to submit all my photos this afternoon (deadline is tomorrow!!) I'm just going to take a quick breather but will be back soon with all the details. :) Here's a quick pic of me and my finished build though! ;)
Promise I'll be back soon!!!
Cristina
Promise I'll be back soon!!!
Cristina
Sunday, July 24, 2016
#IGBuilders Challenge
Hi guys! If you've been following me on facebook, then this is old news, but if not, I'm very excited to share this with you! A few weeks ago I decided to sign up for a building challenge.
When I signed up, I had no idea what we would actually be asked to build. After the signup deadline had passed, all builders were sent a set of plans for a simple console table. We were given instructions to build it, make a few minor modifications if we wanted (as long as the finished piece still resembled the plan), and paint/stain/complete it...all within 3 weeks! Normally this would have been a simple feat for me and I wouldn't have thought much of it, but with my kids home from school for the summer, I knew my shop time was going to be drastically reduced and I wasn't sure I would meet the 3 week deadline. BUT, I decided to go for it anyway. ;)
This is a picture of the original plan...
As soon as I saw it, I knew what i wanted to do! :) I redrew the plan in sketchup but with the modifications I had in mind to make sure it would still "look right". My modifications included 2 additional legs in the front so I could divide it into 3 sections for drawers and made it two thinner drawers instead of one deeper one. I also narrowed it down a few inches so I would only have to purchase 8' boards instead of 12' - they're easier to transport in my van - haha! ;) I also added the bottom shelf and the X's to the sides to match our coffee table I built last month. I loved it (and hoped the judges would too!)
I purchased a mix of fir, knotty pine and pine plywood and got to work!
I started by building the main frame.
From there I built and added the drawers.
This is actually just a test fit to make sure they were all fitting perfectly before I installed all the drawer slides. :)
For the top I ran all my lumber through my thickness planer to make sure they were all the same thickness and then glued them up to make a larger solid piece rather than use a plywood or other type of sheet material. One of the things in the original plan that I liked the look of was the breadboard ends. Rather that just using pocket holes and screws, I decided to attempt a more traditional method called tongue and groove. I've definitely got to work on it a bit more, but I was happy with the result...even if it's not 100% accurate. ;)
Drawers installed and breadboard ends attached!
I chose to do a stained top and painted bottom. The colour I chose for paint is called "Ashwood" by Benjamin Moore. I had the colour matched at Home Depot in a satin finish in their Behr Premium Plus paint line. I sprayed on at least 4 coats, lightly distressed all the edges (because I know my kids will naturally add to that over time!) and then followed it with a satin polycrylic clear coat.
The top is stained in Minwax Jacobean and finished with a satin wipe-on poly.
To install the drawer fronts, one of the other builders in the challenge shared a tip she had learned - and it is brilliant! By using a deck (or 3) of playing cards as shims, it allows easy adjustments to space the drawer fronts perfectly!
I always drill my hardware holes in the drawer fronts first so they're perfectly centered. Then, once shimmed in place, I temporary screw the fronts to the drawer boxes through the predrilled holes. I shoot a few small staples with my nail gun from the inside of the drawer box into the back of the drawer front which holds the front in place when I remove the temporary screws. From there I just run my drill through the previous holes I drilled in the drawer front, through the drawer box, and there you go, perfect placement holes for the hardware!
Speaking of hardware, aren't these gorgeous??? I found them at our local Windsor Plywood and knew they were perfect! I believe it was an "aged bronze" finish.
And, here is my finished table!
I am SO thrilled with how my table turned out and it fits in perfectly in our home! Now, this was a building challenge and there could only be one winner. Definitely head over to Instagram and check out #IGBuilderschallenge and see the other builders gorgeous builds! As soon as the tables started being posted, I had NO idea how the judges would ever make a decision! SOOO tough!
With over 200 builders signed up and SO many gorgeous tables built, I never actually thought I would ever win....well, I was completely shocked and overjoyed when I received a message saying that the judges had picked MY table as the winner!!!
I couldn't believe it...and was a little more than excited. ;) Lets just say our neighbors thought we'd won the lottery the way I was freaking out on our back deck! ;) Hey, I felt like I had!!
Anyway, now that the challenge is done, I'm sitting back for a little breather before working on the next project. ;) Well...maybe....
Thanks for popping by!
Cristina
Subscribe to:
Posts (Atom)