Showing posts with label decor. Show all posts

Thursday, November 26, 2020

DIY Mini Drawstring Bags


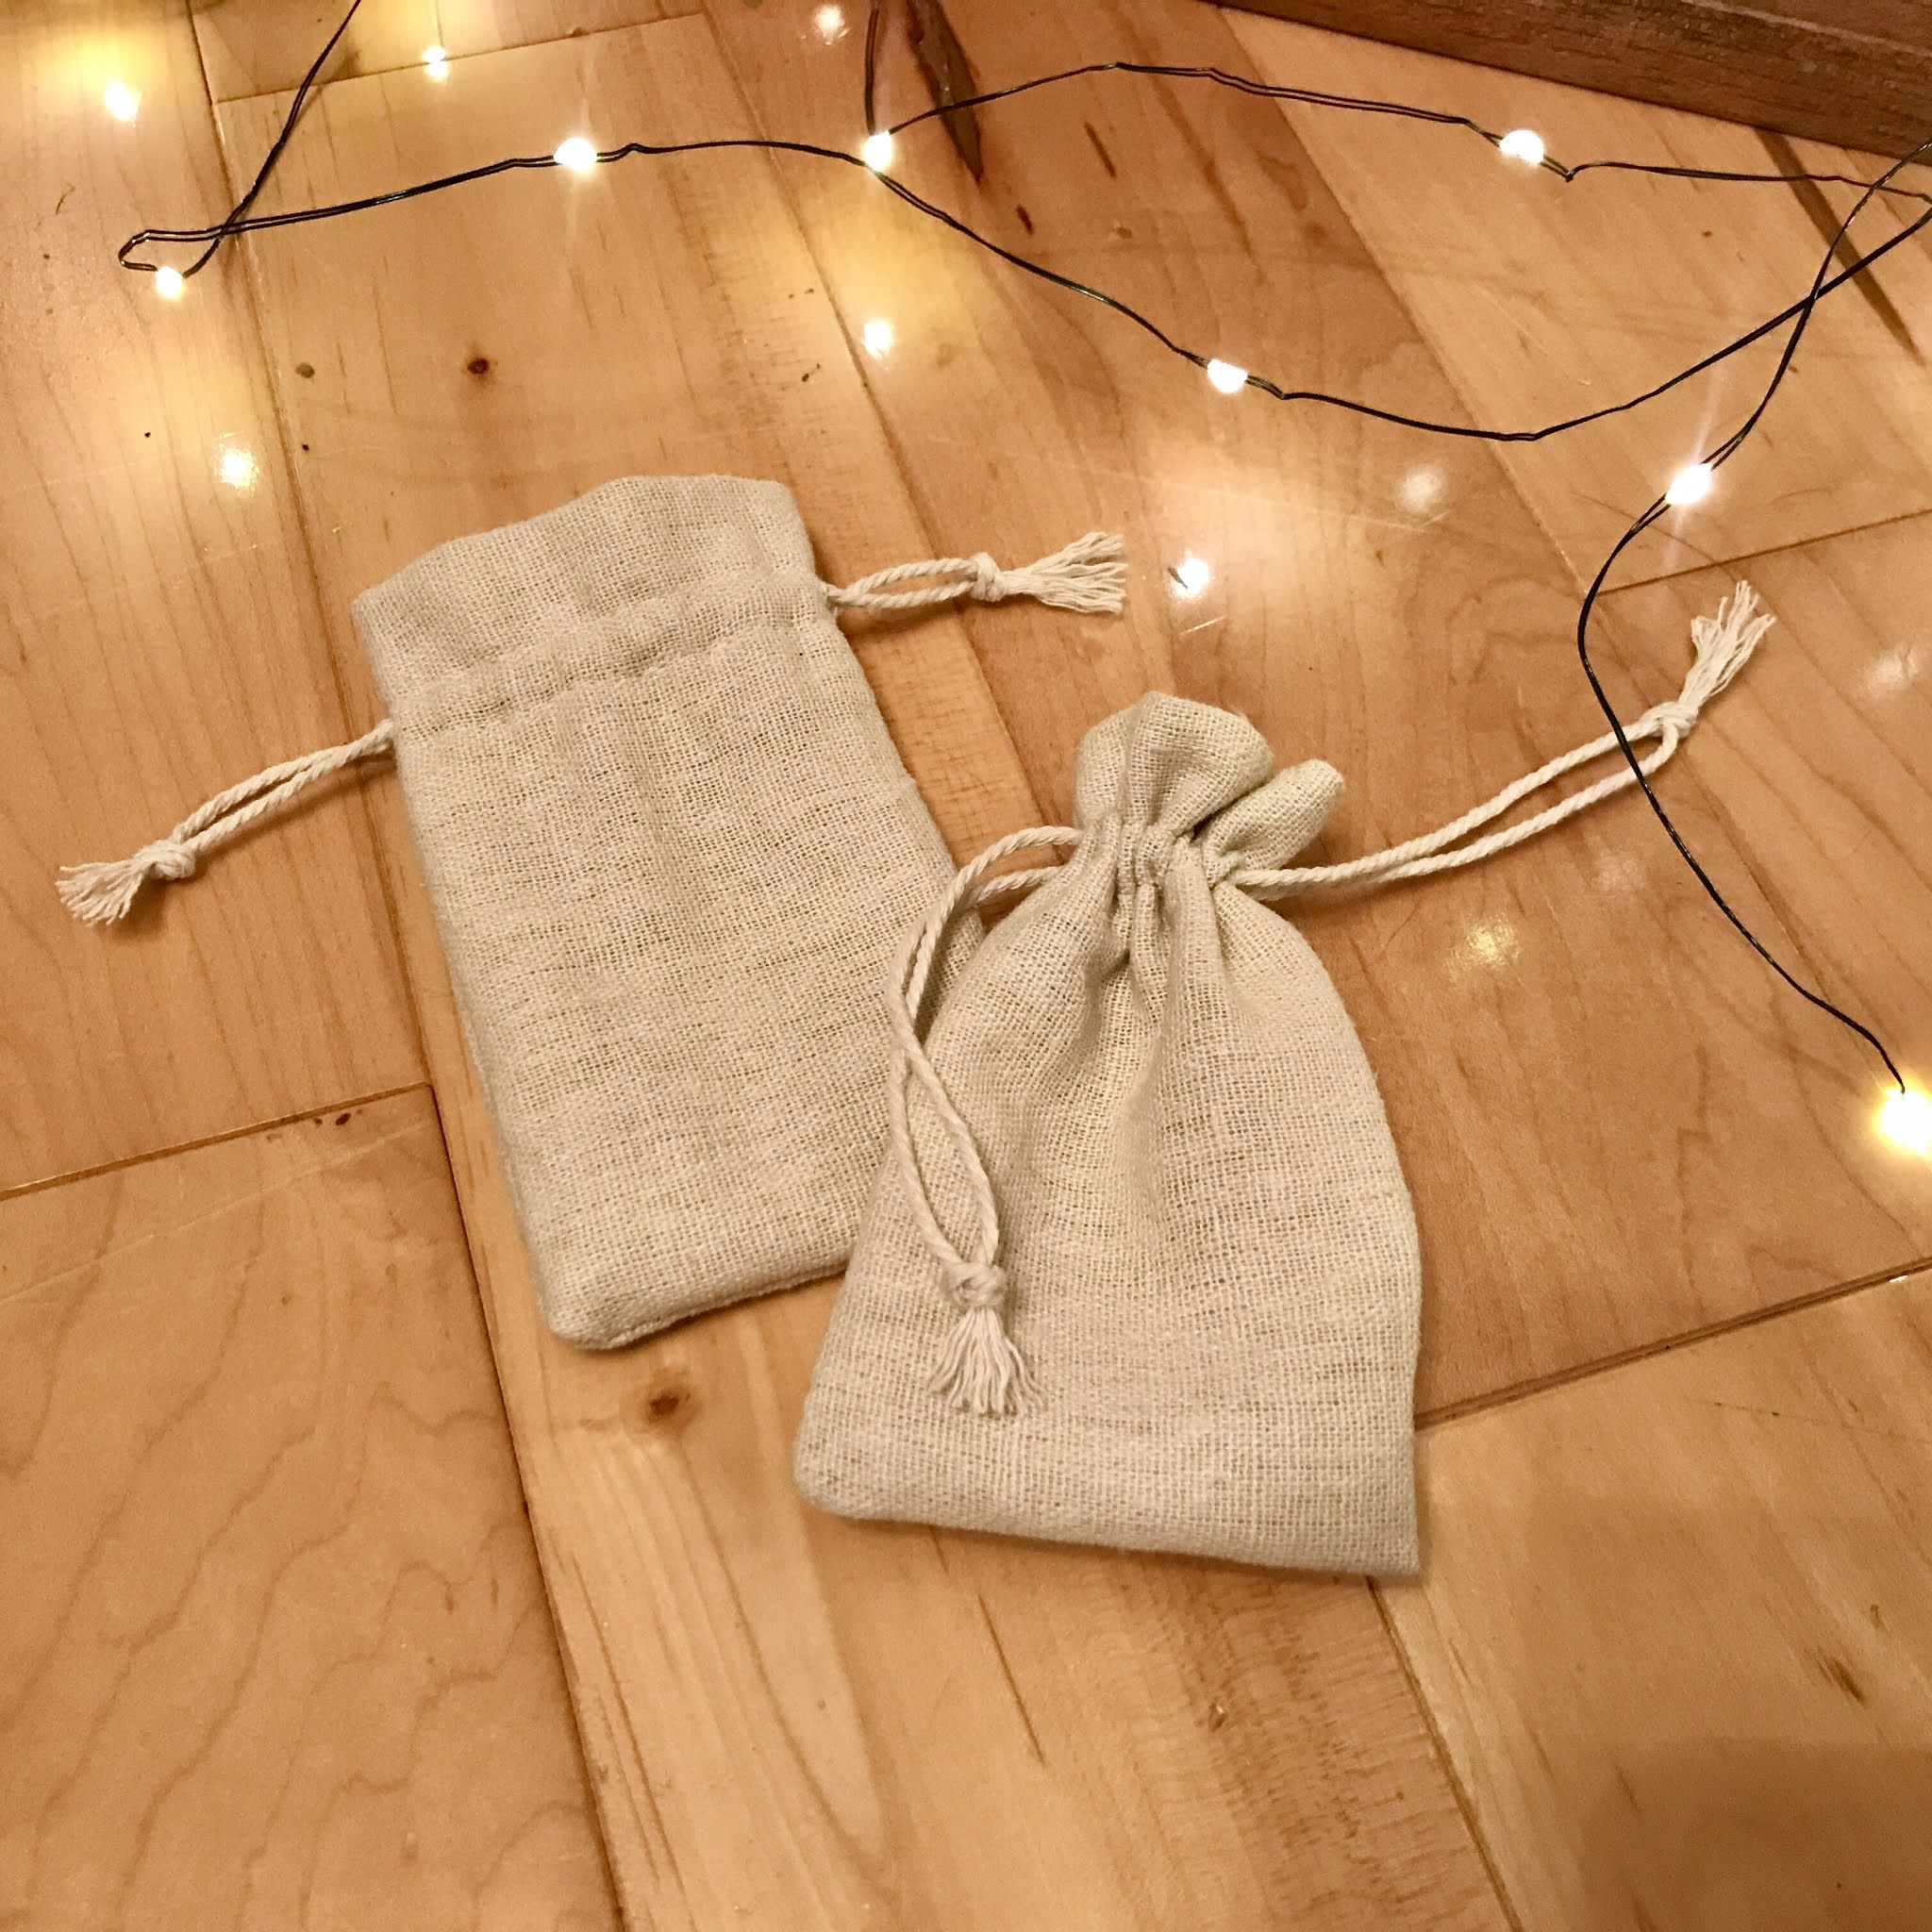
When I first shared my Rustic Moose Advent Calendar, I included a quick tutorial on how I sewed my own little treat bags.  I'd closed them with a ribbon tie, but ended up finding it a bit too time consuming. This year I decided to revisit that and have come up with a simple drawstring closure that is easy to close and hang up.  Lets get started!!

Each bag starts with a 6"x6" square of fabric.   I chose a slightly loose woven fabric as I found it easier to thread the drawstring through it,  but any light weight fabric could work.


Fold over one edge 1-1/2" and press with an iron.


From the folded edge, stitch two straight lines.  I stitched at 5/8" and 1"  This will leave a narrow channel for the drawstring to thread through.


Fold the fabric in half and stitch 1/4" from the edge along the open side and bottom.  Clip the bottom corners to reduce bulk and turn bag right side out and press with an iron.


For the drawstring, I choose to use a cotton twine from our local Canadian Tire.  It was only $5 for a huge roll and had the rustic feel I was after.  You could also use a thin ribbon for a dressier look.

I cut two pieces at 10" * each and used a large plastic needle from my knitting supplies to thread it through the channel.  I find the plastic needles have a slightly blunt end so don't pierce the fabric as easily when I'm threading it through the channel.

*If you would prefer the addition of a smaller hanging loop, I've added a few extra pics at the bottom of this post on how to achieve that.


Start by pushing the needle through the top layer of fabric only close to the seam.  If your fabric weave is too tight for that, you can use scissors to make a very tiny snip being sure to only cut through the outside layer of fabric.  Slide the needle through the channel and push it out the opposite side of the bag. 


Leaving about 1/4" room, push it back through the fabric and continue through the channel on the other side of the bag exiting close to the seam where you started.


Tie a knot and trim the ends.

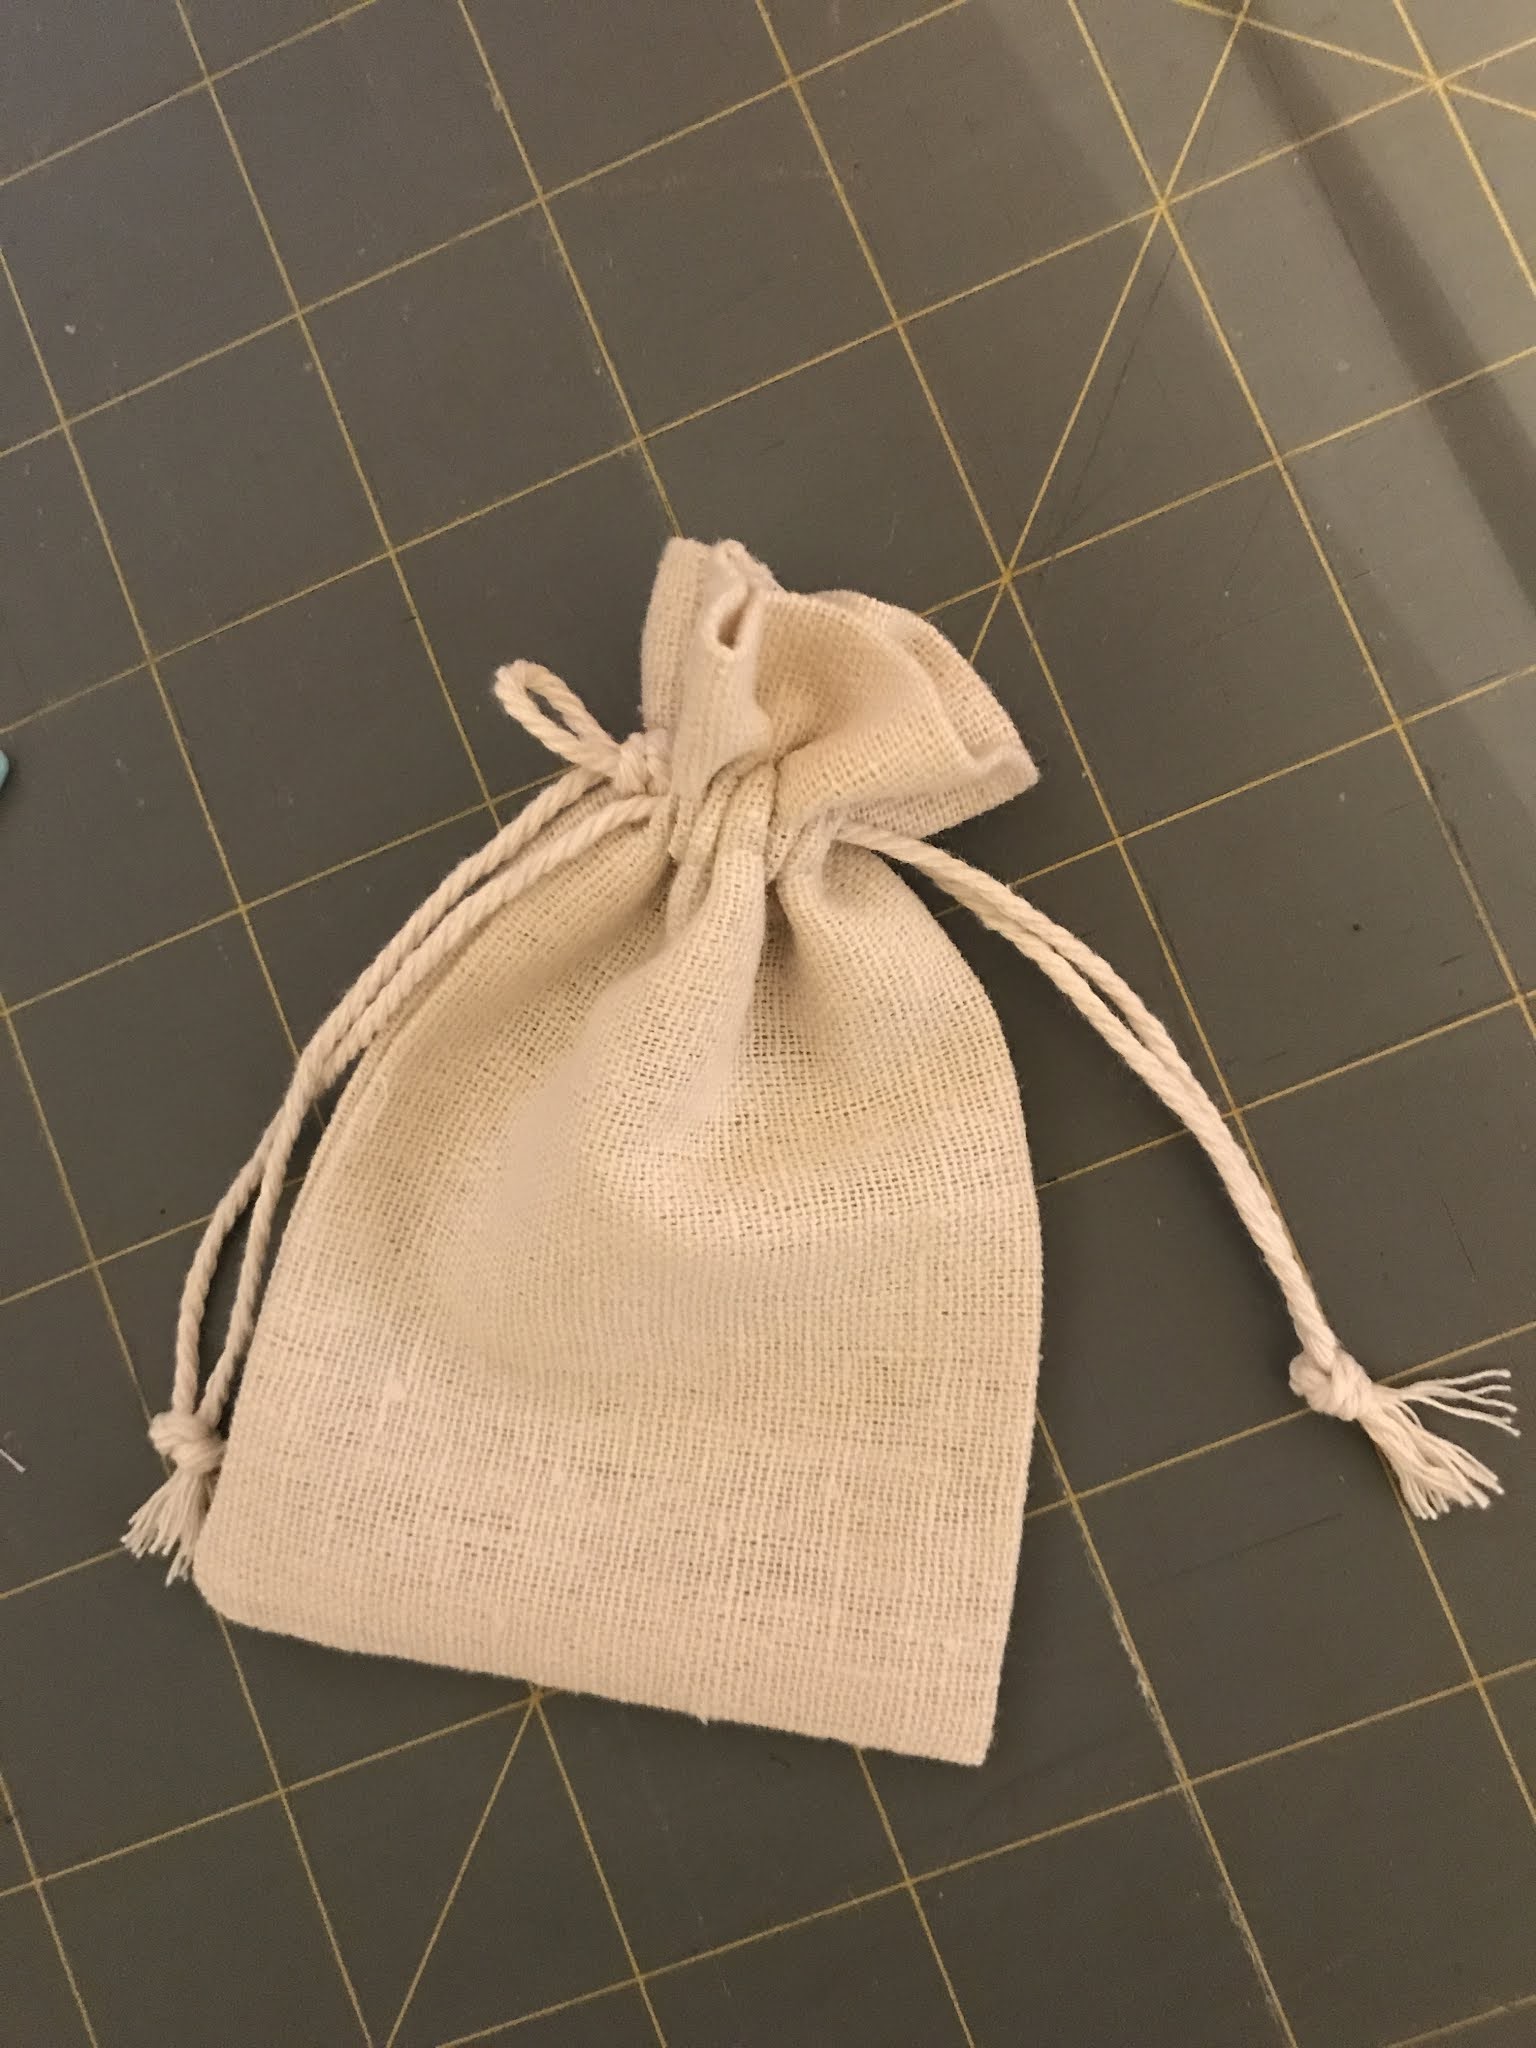
Repeat the process starting on the opposite side of the bag using the original holes in the fabric from the first drawstring.  You should now have two draw strings in the bag with a knot on each side.


Pull on the knots and the bag closes easily.  The finished size of this bag is 2-3/4" x 4-1/4".  It's a very simple design and could easily be sized up to any size you need.


At this point you could add numbers with a stamp, decorate the bags to dress them up or leave them as is.


Adding a Small Hanging Loop

I personally love the look of the mini treat bags hanging up closer to the antler.  To achieve that, cut your drawstrings at 10" and 13".  Thread the 10" drawstring through the channel following my original instructions above.  Next, thread the 13" drawstring through but leave the side loop quite loose.  Make sure this loop is sitting above the first drawstring.


Tie a small knot leaving a loop large enough to easily slip over a cup hook.


Knot the loose ends and trim to even them up.  When the bag is pulled close, the small knot keeps the loop open allowing it to be hung up.


I hope that makes sense and was easy to follow.  If you have any questions, definitely let me know.

Happy sewing! :)

Cristina


Sunday, December 17, 2017

DIY Wooden Lantern

The past few weeks have been super busy but I know a number of people have asked me about the decorative wooden lanterns I built recently so I wanted to share a quick post about them.   There are a number of different tutorials for variations of these lanterns which is what I shamelessly copied (like this one, this one, or this one) so it's certainly not my original idea, but I thought I'd just share how I built mine. :)

I decided to build two different sizes.  The larger one uses basic off-the-shelf lumber so is really easy to construct as they're all simple straight cuts on a miter saw.   I actually went through my scrap pile and used a lot of the smaller pieces I had so didn't have to buy anything for this project!  For the smaller size, I had to use my table saw and Microjig Gripper to rip the lumber down to much smaller widths before making the final cuts with my miter saw. 

I made sure to construct the lanterns so they are open at the top.  This allows me to use a real candle which I love the look of.


Measuring 7-1/2" wide x 17-3/4" tall, I'll show you how I created my large lantern.  The height of this particular lantern can be adjusted just by changing the length of the vertical 2x2's.  


(Mini lantern is 5" wide x 10" tall)


The following instructions are for the large lantern, but I have included the cut list for the mini lantern as well. 

Lumber List:


Tools:
Miter saw
Kreg Jig (optional)
Drill & screwdriver or brad nailer
Wood Glue
Stain or paint


I've include all the measurements I used for the mini lantern in brackets.


Step 1:
To create the base, glue the 7-1/2" 1x3's together.   (5" - 1x3's)


Step 2:
Construct the two sides of the lantern with the 4-1/2" & 14" 2x2's.   (3-1/2" & 7-1/2" - 3/4"x 3/4")


Step 3:
Glue one lantern side to the base. I used my Kreg Jig and had drilled a single pocket hole in the end of each vertical 2x2, but using a nailer or a screw through the bottom of the base and up into the vertical 2x2 also works well.


Step 4:

Glue and nail the remaining 4-1/2" 2x2's (3-1/2" - 3/4"x 3/4") to form the front and back.


 Step 5:

Glue and nail the 2nd previously constructed side.


Step 6:

Glue the 3/4" 2x2 feet (3/4" - 3/4"x 3/4") to the bottom corners.  You could add a nail but I found the glue alone was adequate enough to hold them.


Step 7:

Glue and nail on the top of the lantern frame using the 4-1/2" & 7-1/2" 1x2's (3" & 5"  1"x 5/8")


Step 8:

Add the top of the lantern by gluing the remaining 4-1/2" & 6" 1x2's ( 3" & 4"  1" x 5/8") on their edge along the top flush to the inside edge. 


A couple tips:

Cutting as you go:  Because your 1x3's may not be EXACTLY 2-1/2" in width, you can adjust the lengths of the short horizontal 2x2's to match the base width before gluing it all in place.


I chose to sand and stain all my pieces before assembling it.  I found it so much easier to achieve a consistent stain colour without having to attempt to stain the tighter corners. :)

For my mini lantern, I constructed it the same way but only used glue and a few small pin nails.

I ended up building two of the mini lanterns and will be adding a glass holder and pillar candle in each to give them to my daughters teachers as Christmas gifts.  I think it would be simple to dress these up as centerpieces on a dining or console table.

There are so many ways to dress these lanterns up and customize them for your own home.  Definitely let me know if you have any questions and I would love to see your lanterns if you decide to build one!

Happy Building!

Cristina