Showing posts with label sewing. Show all posts

Thursday, November 26, 2020

DIY Mini Drawstring Bags


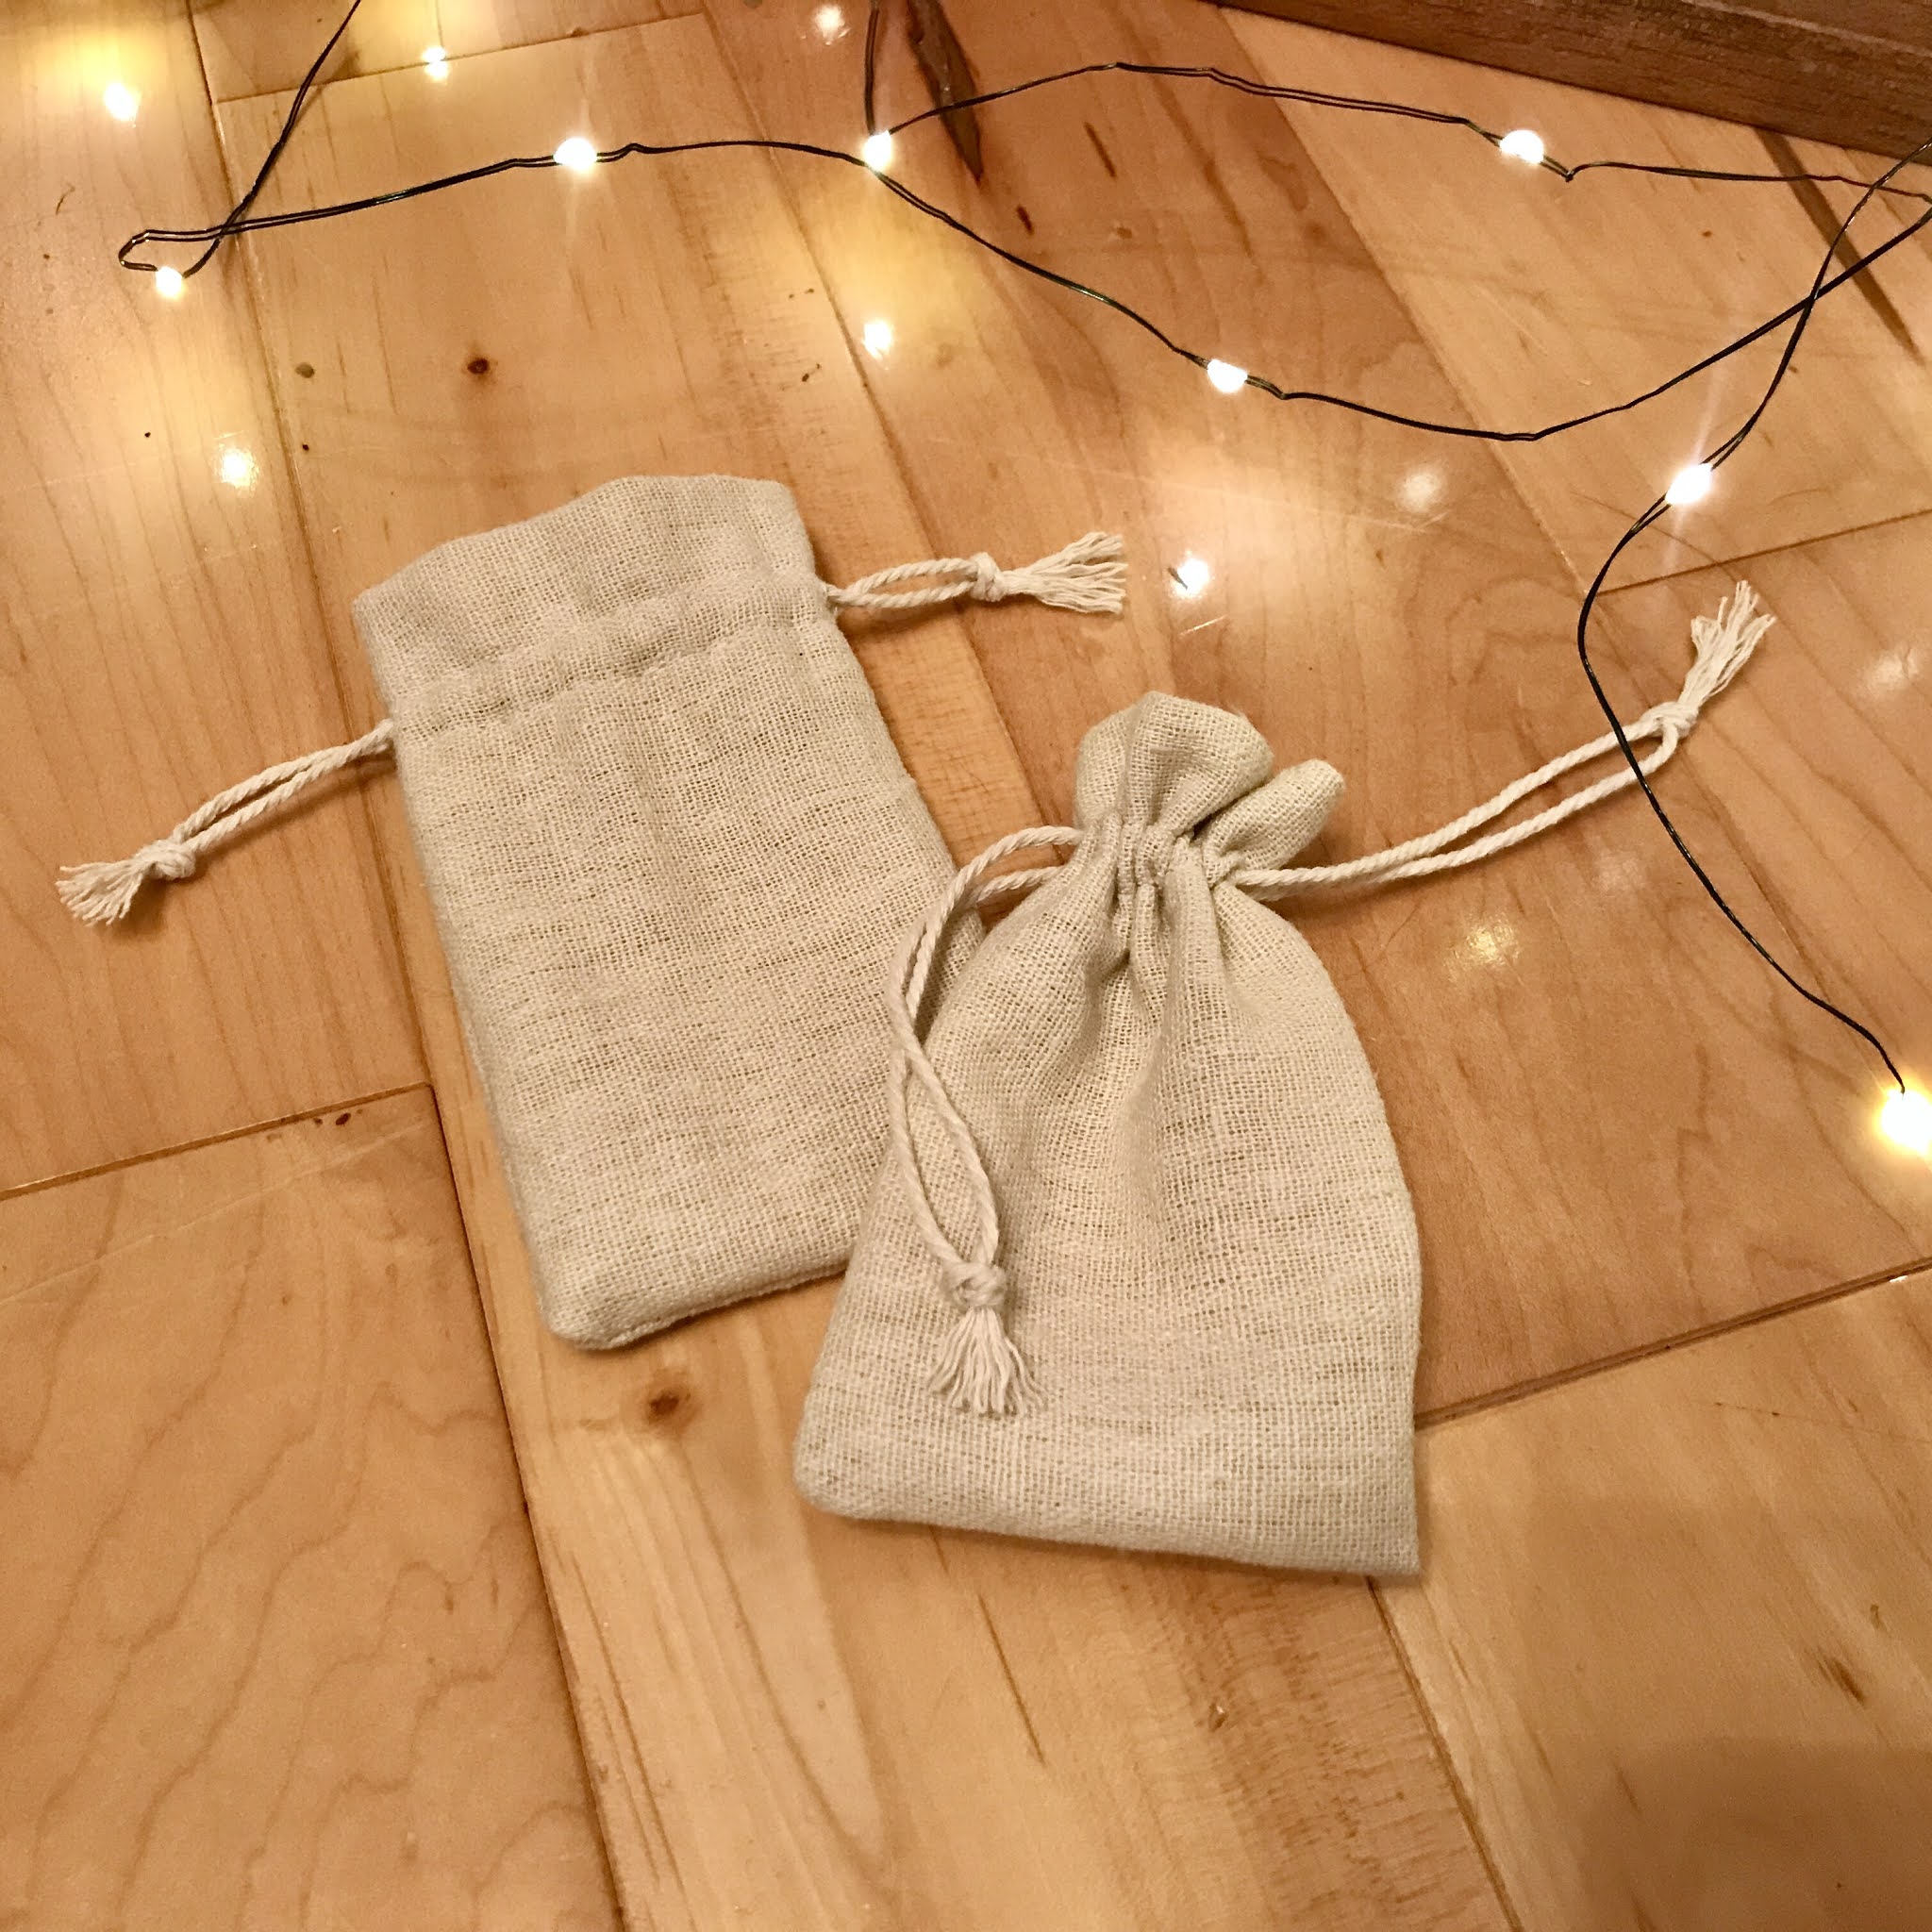
When I first shared my Rustic Moose Advent Calendar, I included a quick tutorial on how I sewed my own little treat bags.  I'd closed them with a ribbon tie, but ended up finding it a bit too time consuming. This year I decided to revisit that and have come up with a simple drawstring closure that is easy to close and hang up.  Lets get started!!

Each bag starts with a 6"x6" square of fabric.   I chose a slightly loose woven fabric as I found it easier to thread the drawstring through it,  but any light weight fabric could work.


Fold over one edge 1-1/2" and press with an iron.


From the folded edge, stitch two straight lines.  I stitched at 5/8" and 1"  This will leave a narrow channel for the drawstring to thread through.


Fold the fabric in half and stitch 1/4" from the edge along the open side and bottom.  Clip the bottom corners to reduce bulk and turn bag right side out and press with an iron.


For the drawstring, I choose to use a cotton twine from our local Canadian Tire.  It was only $5 for a huge roll and had the rustic feel I was after.  You could also use a thin ribbon for a dressier look.

I cut two pieces at 10" * each and used a large plastic needle from my knitting supplies to thread it through the channel.  I find the plastic needles have a slightly blunt end so don't pierce the fabric as easily when I'm threading it through the channel.

*If you would prefer the addition of a smaller hanging loop, I've added a few extra pics at the bottom of this post on how to achieve that.


Start by pushing the needle through the top layer of fabric only close to the seam.  If your fabric weave is too tight for that, you can use scissors to make a very tiny snip being sure to only cut through the outside layer of fabric.  Slide the needle through the channel and push it out the opposite side of the bag. 


Leaving about 1/4" room, push it back through the fabric and continue through the channel on the other side of the bag exiting close to the seam where you started.


Tie a knot and trim the ends.

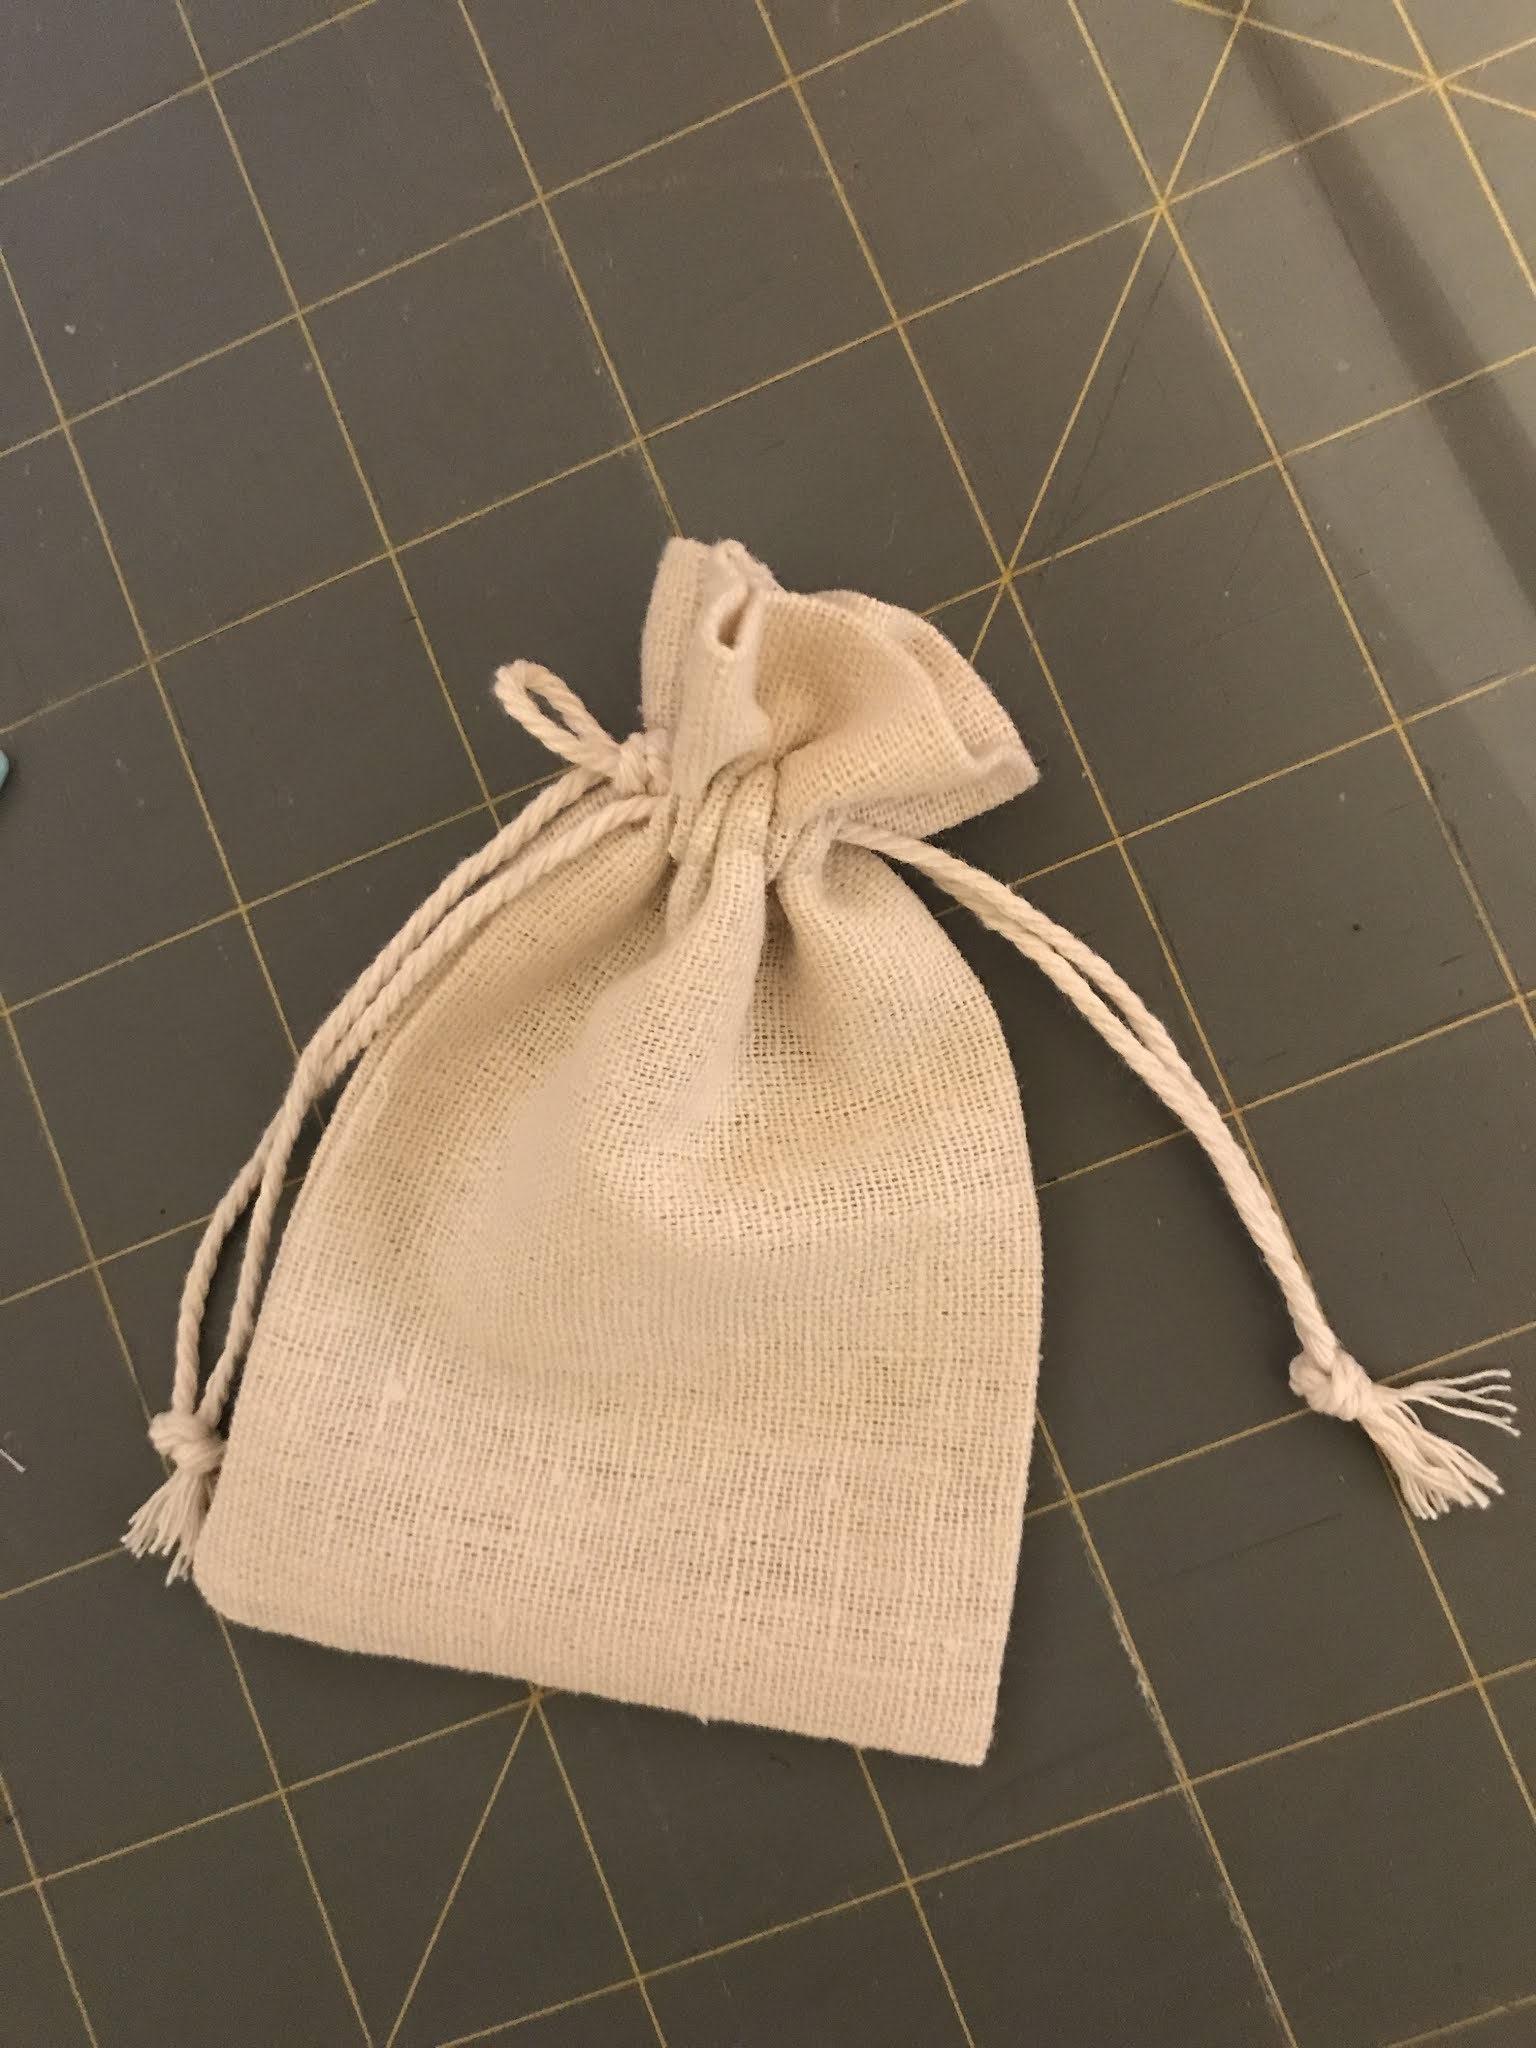
Repeat the process starting on the opposite side of the bag using the original holes in the fabric from the first drawstring.  You should now have two draw strings in the bag with a knot on each side.


Pull on the knots and the bag closes easily.  The finished size of this bag is 2-3/4" x 4-1/4".  It's a very simple design and could easily be sized up to any size you need.


At this point you could add numbers with a stamp, decorate the bags to dress them up or leave them as is.


Adding a Small Hanging Loop

I personally love the look of the mini treat bags hanging up closer to the antler.  To achieve that, cut your drawstrings at 10" and 13".  Thread the 10" drawstring through the channel following my original instructions above.  Next, thread the 13" drawstring through but leave the side loop quite loose.  Make sure this loop is sitting above the first drawstring.


Tie a small knot leaving a loop large enough to easily slip over a cup hook.


Knot the loose ends and trim to even them up.  When the bag is pulled close, the small knot keeps the loop open allowing it to be hung up.


I hope that makes sense and was easy to follow.  If you have any questions, definitely let me know.

Happy sewing! :)

Cristina


Sunday, September 22, 2013

It's only been 3 years...


SO excited to share another before and after project I finally finished!   


This poor chair was started a LONG time ago (ahem, 2010) and then left in our garage waiting for me to find just the right fabric to cover it with. 

When I originally purchased the chair, it had been poorly painted with a glossy black paint.  The fabric it had been covered in was definitely not what I would have chosen.  I wish I’d taken a picture of the original fabric on the back.  It was pretty hideous and didn't match the front at all!


I decided to paint the chair a glossy white and lightly distressed it to allow a little of the original black to show through.  The seat and front side of the back rest were only held on with a couple screws and some staples, so they were easy to remove.  After removing the old fabric, I was able to easily wrap my new fabric around the pieces and staple them in place.  I forgot to take pictures of this part!  Oops!  The front and back of the back rest were two separate pieces.  After attaching the front piece, I decided to add two button tufts for a little subtle detail.   


I used the same buttons I used on our upholstered headboard so I could cover them in the matching fabric.  After drilling a hole through the wood backing, I threaded a long upholstery needle with a piece of soft nylon drapery cord.  I pushed the needle through the chair, threaded on a button and then pushed the needle back through to the back.   


Before tying a knot, I added a small metal washer on one piece of the cord.   


This prevents the knot from slipping through to the front of the chair and helps to cinch up the cording while I’m tying the knot….or eight.   


Hey…I wanted to make sure that cording wasn’t going anywhere!!!

Because the backing is only a thin ¼” thick piece of wood covered in a very thin foam, I used my heavy duty stapler to reattach it to the chair.   


I knew I would have to cover up the staples, so I decided to try my hand at sewing some double welt cording.    It was so simple to make!  After cutting my fabric on the bias (important if you want your fabric to lie smoothly around the corners!), I wrapped it around TWO pieces of cording, both cut long enough to go around the entire back of the chair.  With my zipper foot in place, I sewed the fabric, enclosing the cords inside. 


After sewing, I shifted the cording a bit with my fingers so the seam was closer to the center of the two cords rather than along one edge.  I hope that makes sense – again, I forgot to take a picture.  Once that was done, I switched over to my regular sewing foot and carefully stitched down the center along the front between the cords.  


I trimmed the excess fabric off close to the stitching along the back and then actually used my hot glue gun to attach it to the chair!


I had originally planned to only apply the double welting along the back, but when I held it up along the front of the chair, I knew it had to go there too!  It just finished it off so nicely!


I’m happy with the way this chair turned out.  So much lighter and cleaner looking than the before.   I’ll likely list the chair for sale at some point, but for now it’s being used for staging at the townhouse.


Thanks for visiting!

Saturday, April 27, 2013

Shabby to Chic


Another French Provincial project!  I picked up this desk along with these side tables a couple of years ago.  

 
I think they were actually a few of the very first pieces of furniture I bought when I decided to start painting –  so, I’ve probably had them at least 3.5 years (but who’s counting) and planned to refinish them for our daughter's room.  At that time I’d done a little research on painting, but wasn’t aware of the necessity of adding a protective coat over the paint.  I think after the primer, I actually painted the desk in an eggshell latex paint and left it at that!  The desk sat in my daughters room for probably 2 years and was sadly looking pretty shabby...and not in a chic way!  I finally decided to drag it back down to the garage and refinish it properly!  

The desk didn’t come with a chair, but I had a small one tucked away that I knew would work well with it.  I lovingly refer to it as my “painting chair” because I would sit on it when I used to paint my furniture by hand.  


Now that I’ve upgraded to a paint sprayer, the chair wasn’t necessary anymore.  I’d painted it last year with a DIY chalk paint in a deep red to use as part of our Fall decor on our front porch.   


I knew it was time to give it another little makeover.  I had some leftover DIY chalk paint from another project and so I decided to use that.  It’s a beautiful soft “green/blue” color.  If you’re familiar with Annie Sloan chalk paint, it’s almost identical to her “Duck Egg” paint color.  You’ll likely be seeing this color a bit more over the next little while – I just love it!  

 
To refinish the desk, I lightly sanded it, sprayed it with a fresh coat of primer, a couple coats of crisp white paint and then a couple clear coats.  


I chose to remove the decorative accents that were originally on the top drawers.  They were plastic and already loose, so they had to go.  I decided to use the original hardware on the bottom drawers but updated them by spraying them with a metal primer and then a couple coats of glossy white.  


The desk was missing one of the original top drawer pulls, so I replaced them all with some pretty glass ones.  


I decided to line the bottom of each drawer with a soft green vinyl sheet to freshen them up and make them pretty.


And a few more pic's just because I can.  *wink*


And that pretty pillow?  I picked up some soft linen-like fabric last night and whipped up the pillow this morning!  I love the simple look of the single flower.


I added a single "cracked glass-look" bead to the center for a little extra sparkle.


It is now ready for its new home and is listed in my shop.

Thanks for stopping by!